Web SDK integration
Background and Terminology
For easier integration, first let us understand some fundamentals. This description holds true for Google Chrome and Firefox browsers. Fundamentals are the same for Safari, though the details differ.
Browsers support webpush only for HTTPS sites. We provide a workaround if you have HTTP site by providing you with a backing HTTPS site.
We give you two files: qg-service-worker.js and manifest.json and a snippet of javascript code. You install the files in the root folder of your web server and put javascript code in various web pages of your website. Our tag downloads some more javascript code from our servers.
When a user comes to your website, our code asks the browser to request the user to grant us the permission to send her web push notifications. If the user agrees, the browser returns us a token (you can think of it like an address of the browser) which the code transfers to QuantumGraph servers. Using this token, QuantumGraph servers can send the web push notification to users.
Our SDK (which gets downloaded from the javascript code that we provide you) also communicates to QuantumGraph servers the URLs the users are accessing. As a result, you can, using our web panel, send a push to the users who have browsed a particular URL. Using our SDK, you can also send us other attributes of the user (such as user id, email, city) and then send notifications based on those attributes.
To better understand the documentation that follows, it is useful to understand some terminology used later.
System Prompt
System prompt is that prompt that appears when the browser requests the user to grant a certain website permission to show her webpush. It looks like this:
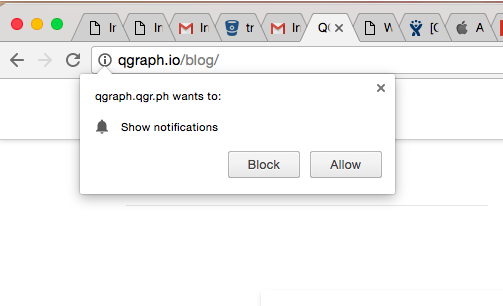
If the user clicks “Allow” then the browser gives a device token to the QG SDK. If the user clicks “Block” then the browsers does not give the device token to the QG SDK.
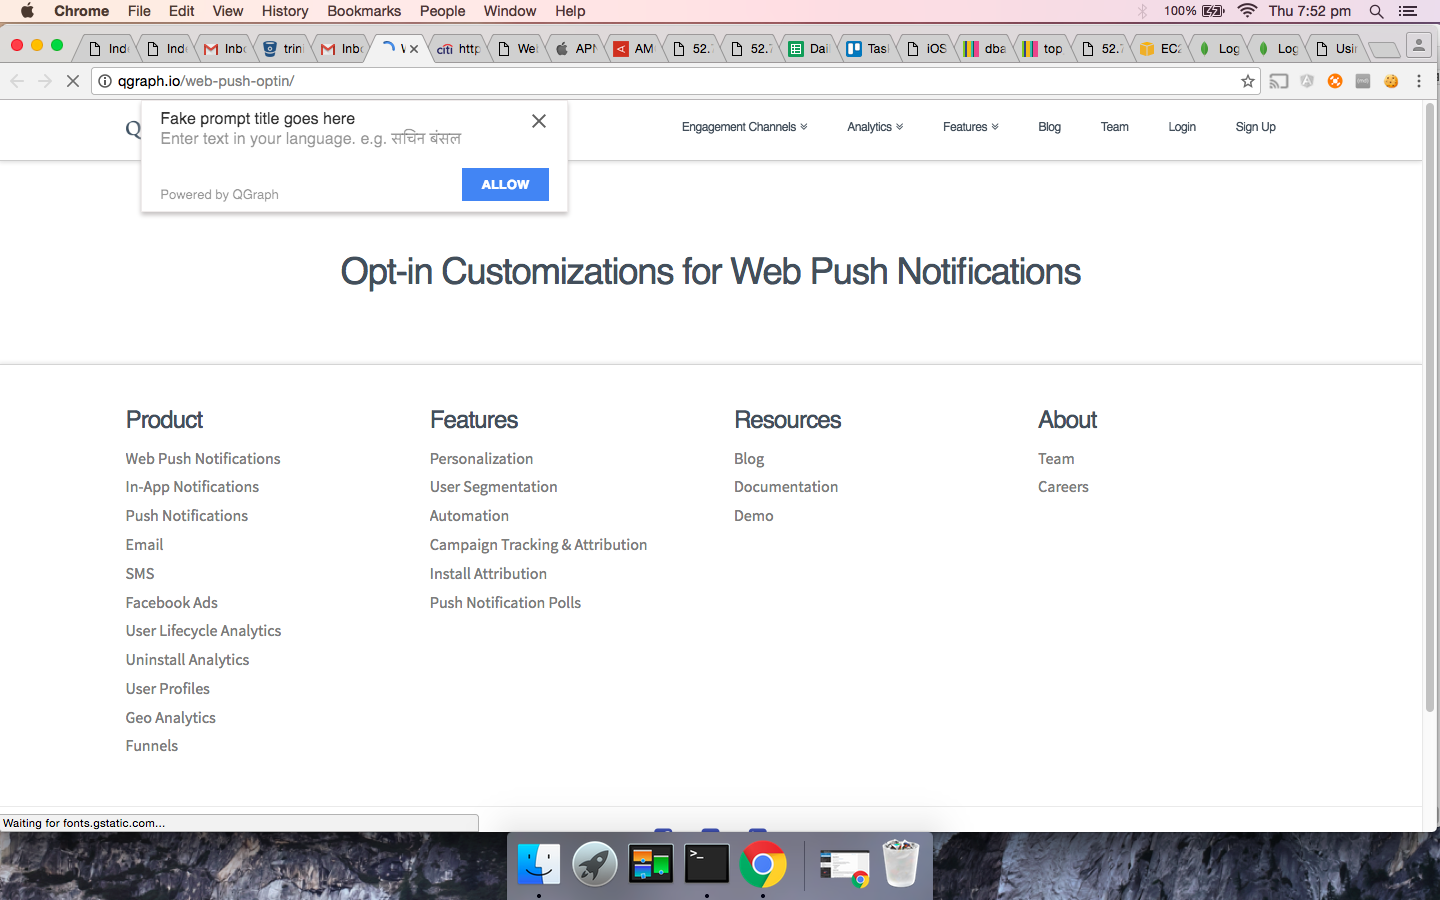
Fake prompt
If you display a system prompt to the user and she blocks your website, then the browser does not allow you to display the system prompt again (unless the user explicity modifies the notification settings by herself). Thus, before displaying the system prompt, it may be good to ask for a “pre approval”, by displaying a fake prompt. If the user allows the notifications in the fake prompt, only then you display the system prompt. If the user disallows the notifications in the fake prompt, you can show the fake prompt after some time (1 hr, 1 day, or more) and request the user again.
This is what a fake prompt looks like. You can customize the text as per your needs.
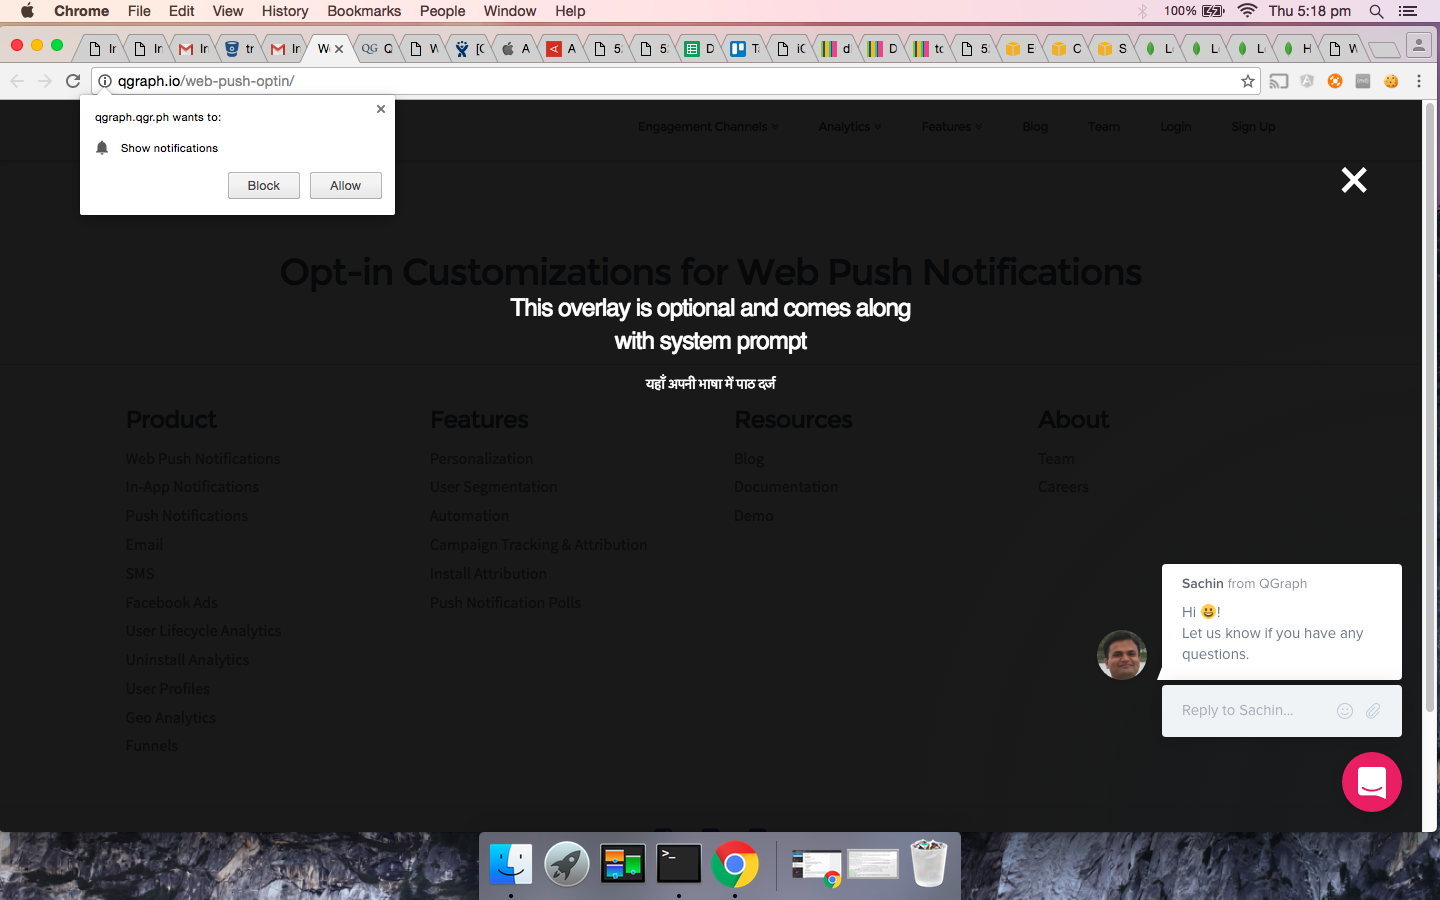
Overlay
When displaying the system prompt, you may wish to deemphasize the content of your website, to direct the user attention to the system prompt. This may be done by an overlay screen, which looks like this. You can customize the text as per your needs.
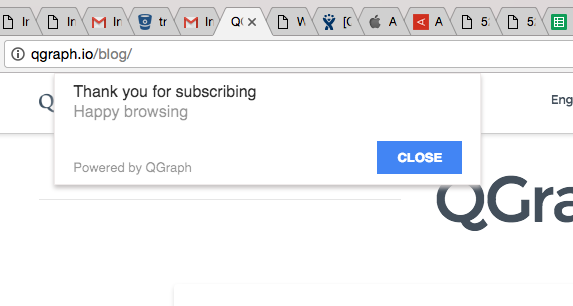
Thank you prompt
You can display a thank you message once the user has granted permission to send the web push. You can customize this message, and change its location. It looks like this.
Installing Web Pixel
Here we describe how you can integrate QGraph’s pixel on your website. While testing web pixel, you should make sure that you are not in incognito mode of web browser, since web push functionality does not work in incognito mode.
If your site is HTTPS
For HTTPS integration, you can also refer to this video:
Login to http://app.qgraph.io
Go to “Setup” -> “Integrations” section on the side bar menu. Select “Web” from the three channels presented to you.
Enter your website’s URL and follow the instructions provided. In step 2 of integration, you will be provided your app id. Keep a note of it.
Download the following files
- https://cdn.qgr.ph/qg-sw.<your app id>.js
- https://cdn.qgr.ph/manifest.json
Copy above files to the root folder of your website. To make sure that you have done this correctly, verify if following files are accessible
- https://yourwebsite.com/qg-sw.<your app id>.js
- https://yourwebsite.com/manifest.json
In case you want to use your GCM key, put your sender id in manifest.json above instead of the sender already present in the file. In this case you also need to enter your GCM key during the intergration. (We need this GCM key to send web push notifications)
Add the following lines inside of head or body tag of your web page:
<script type="text/javascript">
  !function(q,g,r,a,p,h,js){
    if(q.qg)return;
    js = q.qg = function() {
      js.callmethod ? js.callmethod.call(js, arguments) : js.queue.push(arguments);
    };
    js.queue = [];
    p=g.createElement(r);p.async=!0;p.src=a;h=g.getElementsByTagName(r)[0];
    h.parentNode.insertBefore(p,h);
  }(window,document,'script','//cdn.qgr.ph/qgraph.<your app id>.js');
</script>
You can customize various aspects of how and when various prompts appear in our website. Here are the things that you can change:
Fake Prompt You can set up whether or not you want fake prompt to be displayed. The default setting is yes, with a default fake prompt being displayed. You can also set the title, message, button texts and button colors shown in the fake prompt. You can also set the location of the fake prompt (either top left or top center).
Delay: Controls how many seconds after the user has come on the website, do we show system prompt/fake prompt as applicable. Default value is 0.
Seconds between prompts: You can controls the number of seconds between two fake prompts, in case the user declines the request for notification on the first fake prompt. Default value is 3600.
Requesting by self: If set, the QGraph SDK does not show the system prompt or the fake prompt by itself. It is your code which decides when to do that. You can show the prompt any time by this code:
qg("prompt-push")
Note that if you use this parameter, delay and secondsBetweenPrompts are not considered.
Default value is false.
Overlay: You can display an overlay while system prompt is displayed. You can set title and message for the overlay.
If your site is HTTP
In case your site is HTTP, you need a backing HTTPS site to enable push notifications. You can either have your backing HTTPS domain, or use a QGraph provided HTTPS domain. The notification text displays what domain it is coming from: thus using your own domain provides a better experience to your users. However, that involves extra work too, and thus many websites choose to use QGraph provided HTTPS domain, which leads to simpler integration.
Login to http://app.qgraph.io
Go to “Setup” -> “Integrations” section on the side bar menu. Select “Web” from the three channels presented to you.
Enter your website’s URL. Make a choice whether you want to have your own HTTPS domain as backing domain, or want to use a QGraph provided domain. Make a note of it.
(Skip this step if you are using QGraph provided HTTPS domain) In case, you want your own HTTPS domain, download the following files
- https://cdn.qgr.ph/qg-sw.<your app id>.js
- https://cdn.qgr.ph/manifest.json
- https://cdn.qgr.ph/notify.html
Copy above files to the root folder of your HTTPS website. To make sure that you have done this correctly, verify if following files are accessible
- https://yourwebsite.com/qg-sw.<your app id>.js
- https://yourwebsite.com/manifest.json
- https://yourwebsite.com/notify.html
Add the following lines inside of head or body tag of your web page:
<script type="text/javascript">
  !function(q,g,r,a,p,h,js){
    if(q.qg)return;
    js = q.qg = function() {
      js.callmethod ? js.callmethod.call(js, arguments) : js.queue.push(arguments);
    };
    js.queue = [];
    p=g.createElement(r);p.async=!0;p.src=a;h=g.getElementsByTagName(r)[0];
    h.parentNode.insertBefore(p,h);
  }(window,document,'script','//cdn.qgr.ph/qgraph.<your app id>.js');
</script>
You can customize various aspects of how and when various prompts appear in our website. Here are the things that you can change:
Fake Prompt You can set up whether or not you want fake prompt to be displayed. The default setting is yes, with a default fake prompt being displayed. You can also set the title, message, button texts and button colors shown in the fake prompt. You can also set the location of the fake prompt (either top left or top center).
Delay: Controls how many seconds after the user has come on the website, do we show system prompt/fake prompt as applicable. Default value is 0.
Seconds between prompts: You can controls the number of seconds between two fake prompts, in case the user declines the request for notification on the first fake prompt. Default value is 3600.
Requesting by self: If set, the QGraph SDK does not show the system prompt or the fake prompt by itself. It is your code which decides when to do that. You can show the prompt any time by this code:
qg("prompt-push")
Note that if you use this parameter, delay and secondsBetweenPrompts are not considered.
Default value is false.
Overlay: You can display an overlay while system prompt is displayed. You can set title and message for the overlay.
Thank you prompt: You can control the title, message and location of thank you prompt. Thank you prompt is required for HTTP integrations.
Logging Data
QG web SDK provides you ways to send us data about the users. Once you send us the data you can segment on the basis of that data (E.g. send a web push to users meeting certain criterion) and customize on the basis of that data (E.g. insert the image of the product that the user has seen, or the image of the product that you recommend for the user). You can send us two types of data: the attributes of a user, like email, name, city etc. (what we call profile information) and the data related to the activity that the user is doing.
Logging profile information
You log profile information using identify functionality of the function qg. For instance:
qg("identify", {"email": "myemail@somedomain.com"});
logs the email of the user. You can set multiple properties at once, like this:
qg("identify", {"email": "myemail@somedomain.com", "first_name": "John", "last_name": "Doe"});
Logging event information
You log events using event functionality of the function qg. Following code logs an event product_viewed:
qg("event", "product_viewed");
You can have parameters related to the events. For example, following code logs an event product_viewed with parameters product_id, name and price:
qg("event", "product_viewed", {"product_id": 123, "name": "Adidas shoes", "price": 4000});